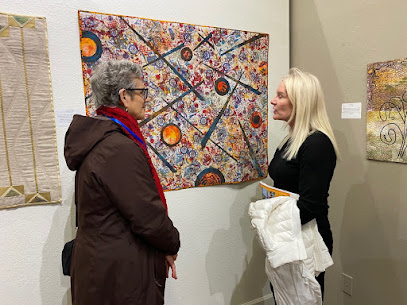
Recently, I was invited by Quilts on the Wall to give a talk and show some examples of one of the ways I create a quilt. I collect interesting and colorful paper images from magazines, junk mail and other cool pictures that come my way. I have files sorted more or less by color as I often start a piece with a color concept in mind.
Paper: 
I lay out a piece of strong paper, 24" x 32", and build the arrangement over several days. I rip for raggedly edges which I generally prefer. Then I go back and forth between a glue stick and white school glue to adhere the bits and pieces. Playing with glue and paper is worry free since I just cover over areas that don't please me!
Paper:

Once I'm happy, I take photos. This is a bit dicey as there is quite a bit of shiny paper which annoyingly reflects my light sources right back to me! I often end up taking the best pictures in an almost dark hallway. I take them in RAW and then add the light back in using Photoshop. Then, once I've selected the image I like the best, I spend a lot of time adding and subtract imagery, adding more small details that will be great when stitched, and I generally try to imagine it as a full sized fabric and thread creation with balance and a nice path for the eye. Then off it goes to Spoonflower to be printed on cotton sateen. I always make sure to include a 4" wide black border so I don't have to use part of the image when completing the quilt. Since I use a lot of bright colors I don't want there to be any white peeking around the edges on the finished piece!
After I receive the fabric I add a very thin batting and begin stitching. My stitches vary but are basically running of all sorts and French knots, some quite dense 3D and then sometimes I feel the need to go all in with 19th century fancies. I use DMC 6 strand cotton floss and occasionally a little of this and that as the image leads me. Once done, I put on what is sometimes referred to as a "false back" so that my very messy real back is hidden safely away from view and from snagging. The label and pocket for hanging go on with the back. That black border folds over the newly applied back which is almost always black as well.